Fabric Roof Barn Building: Your Re-Cover Replacement Guide
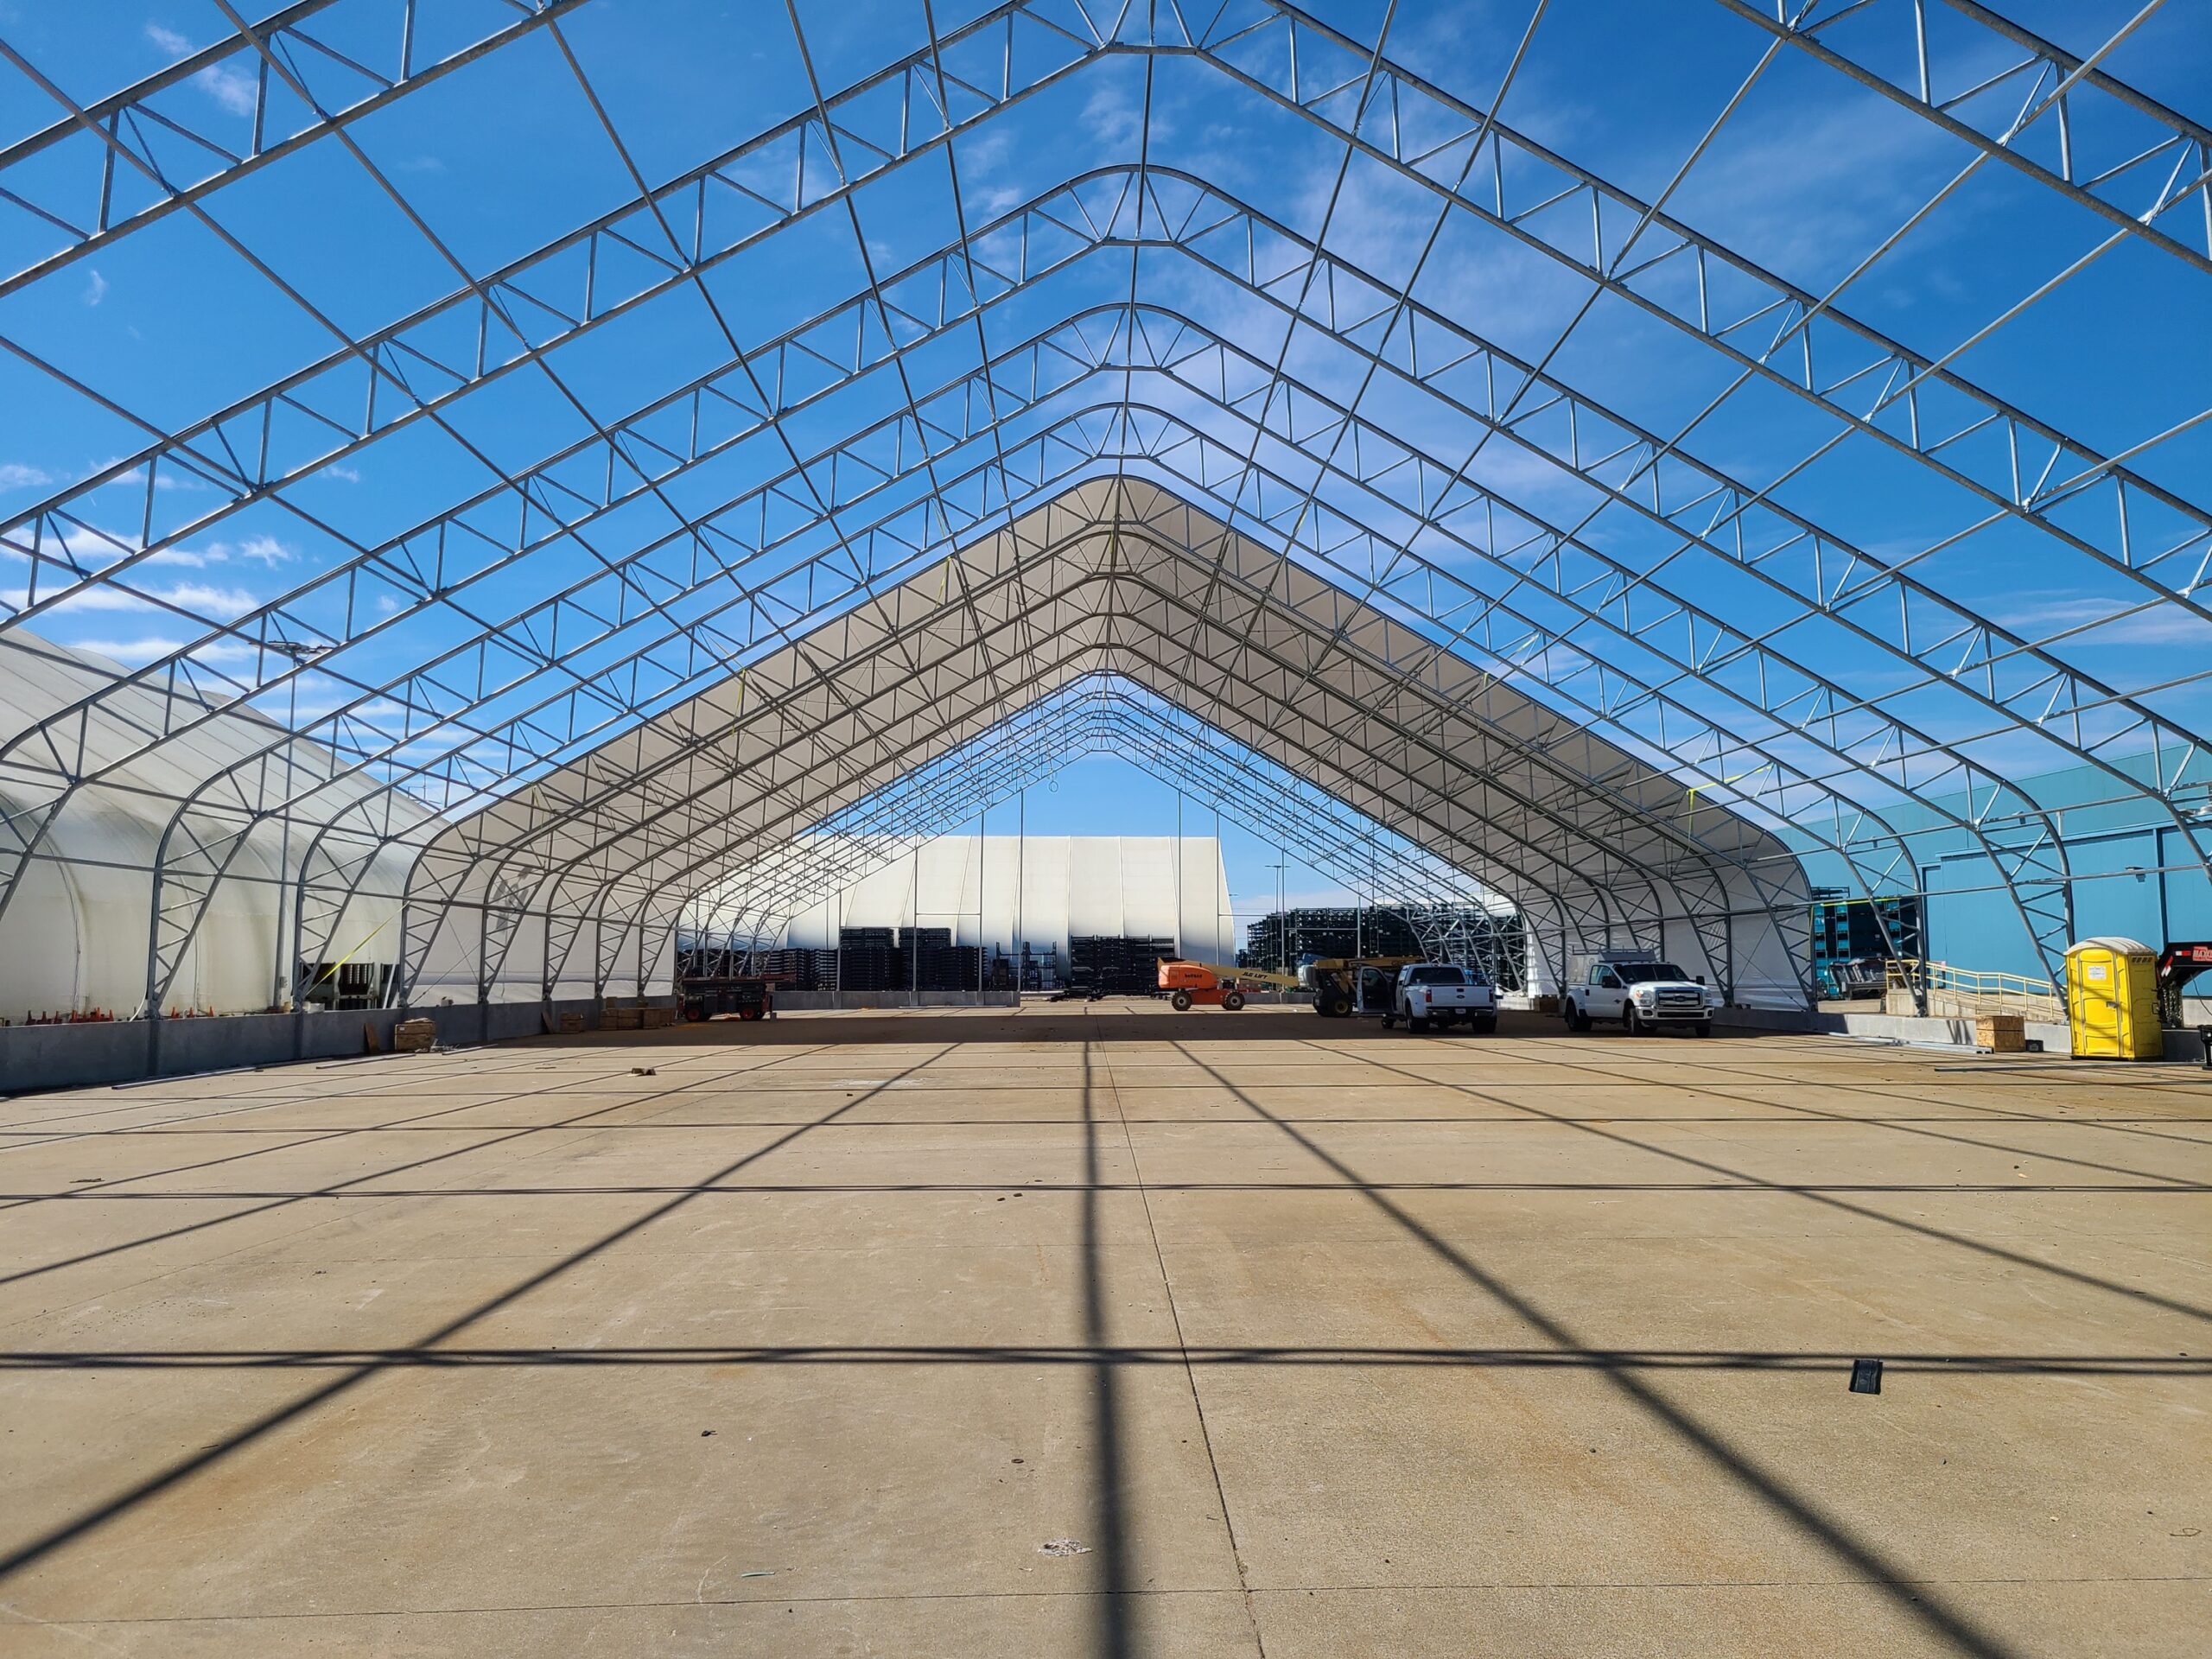
In fabric roof barn building, the roof is not just a cover. It is a tensioned system that works with the steel frame to create a bright, durable, and calm space for daily work. Getting that system right starts with the membrane and how it is tensioned, and continues with a smart plan for inspections, repairs, and future re-covers. This guide explains how a tension fabric roof performs, how to plan a re-cover of your fabric barn cover, and what a professional crew does from start to finish when it is time to replace barn cover panels.
How a Tension Fabric Roof Does the Heavy Lifting
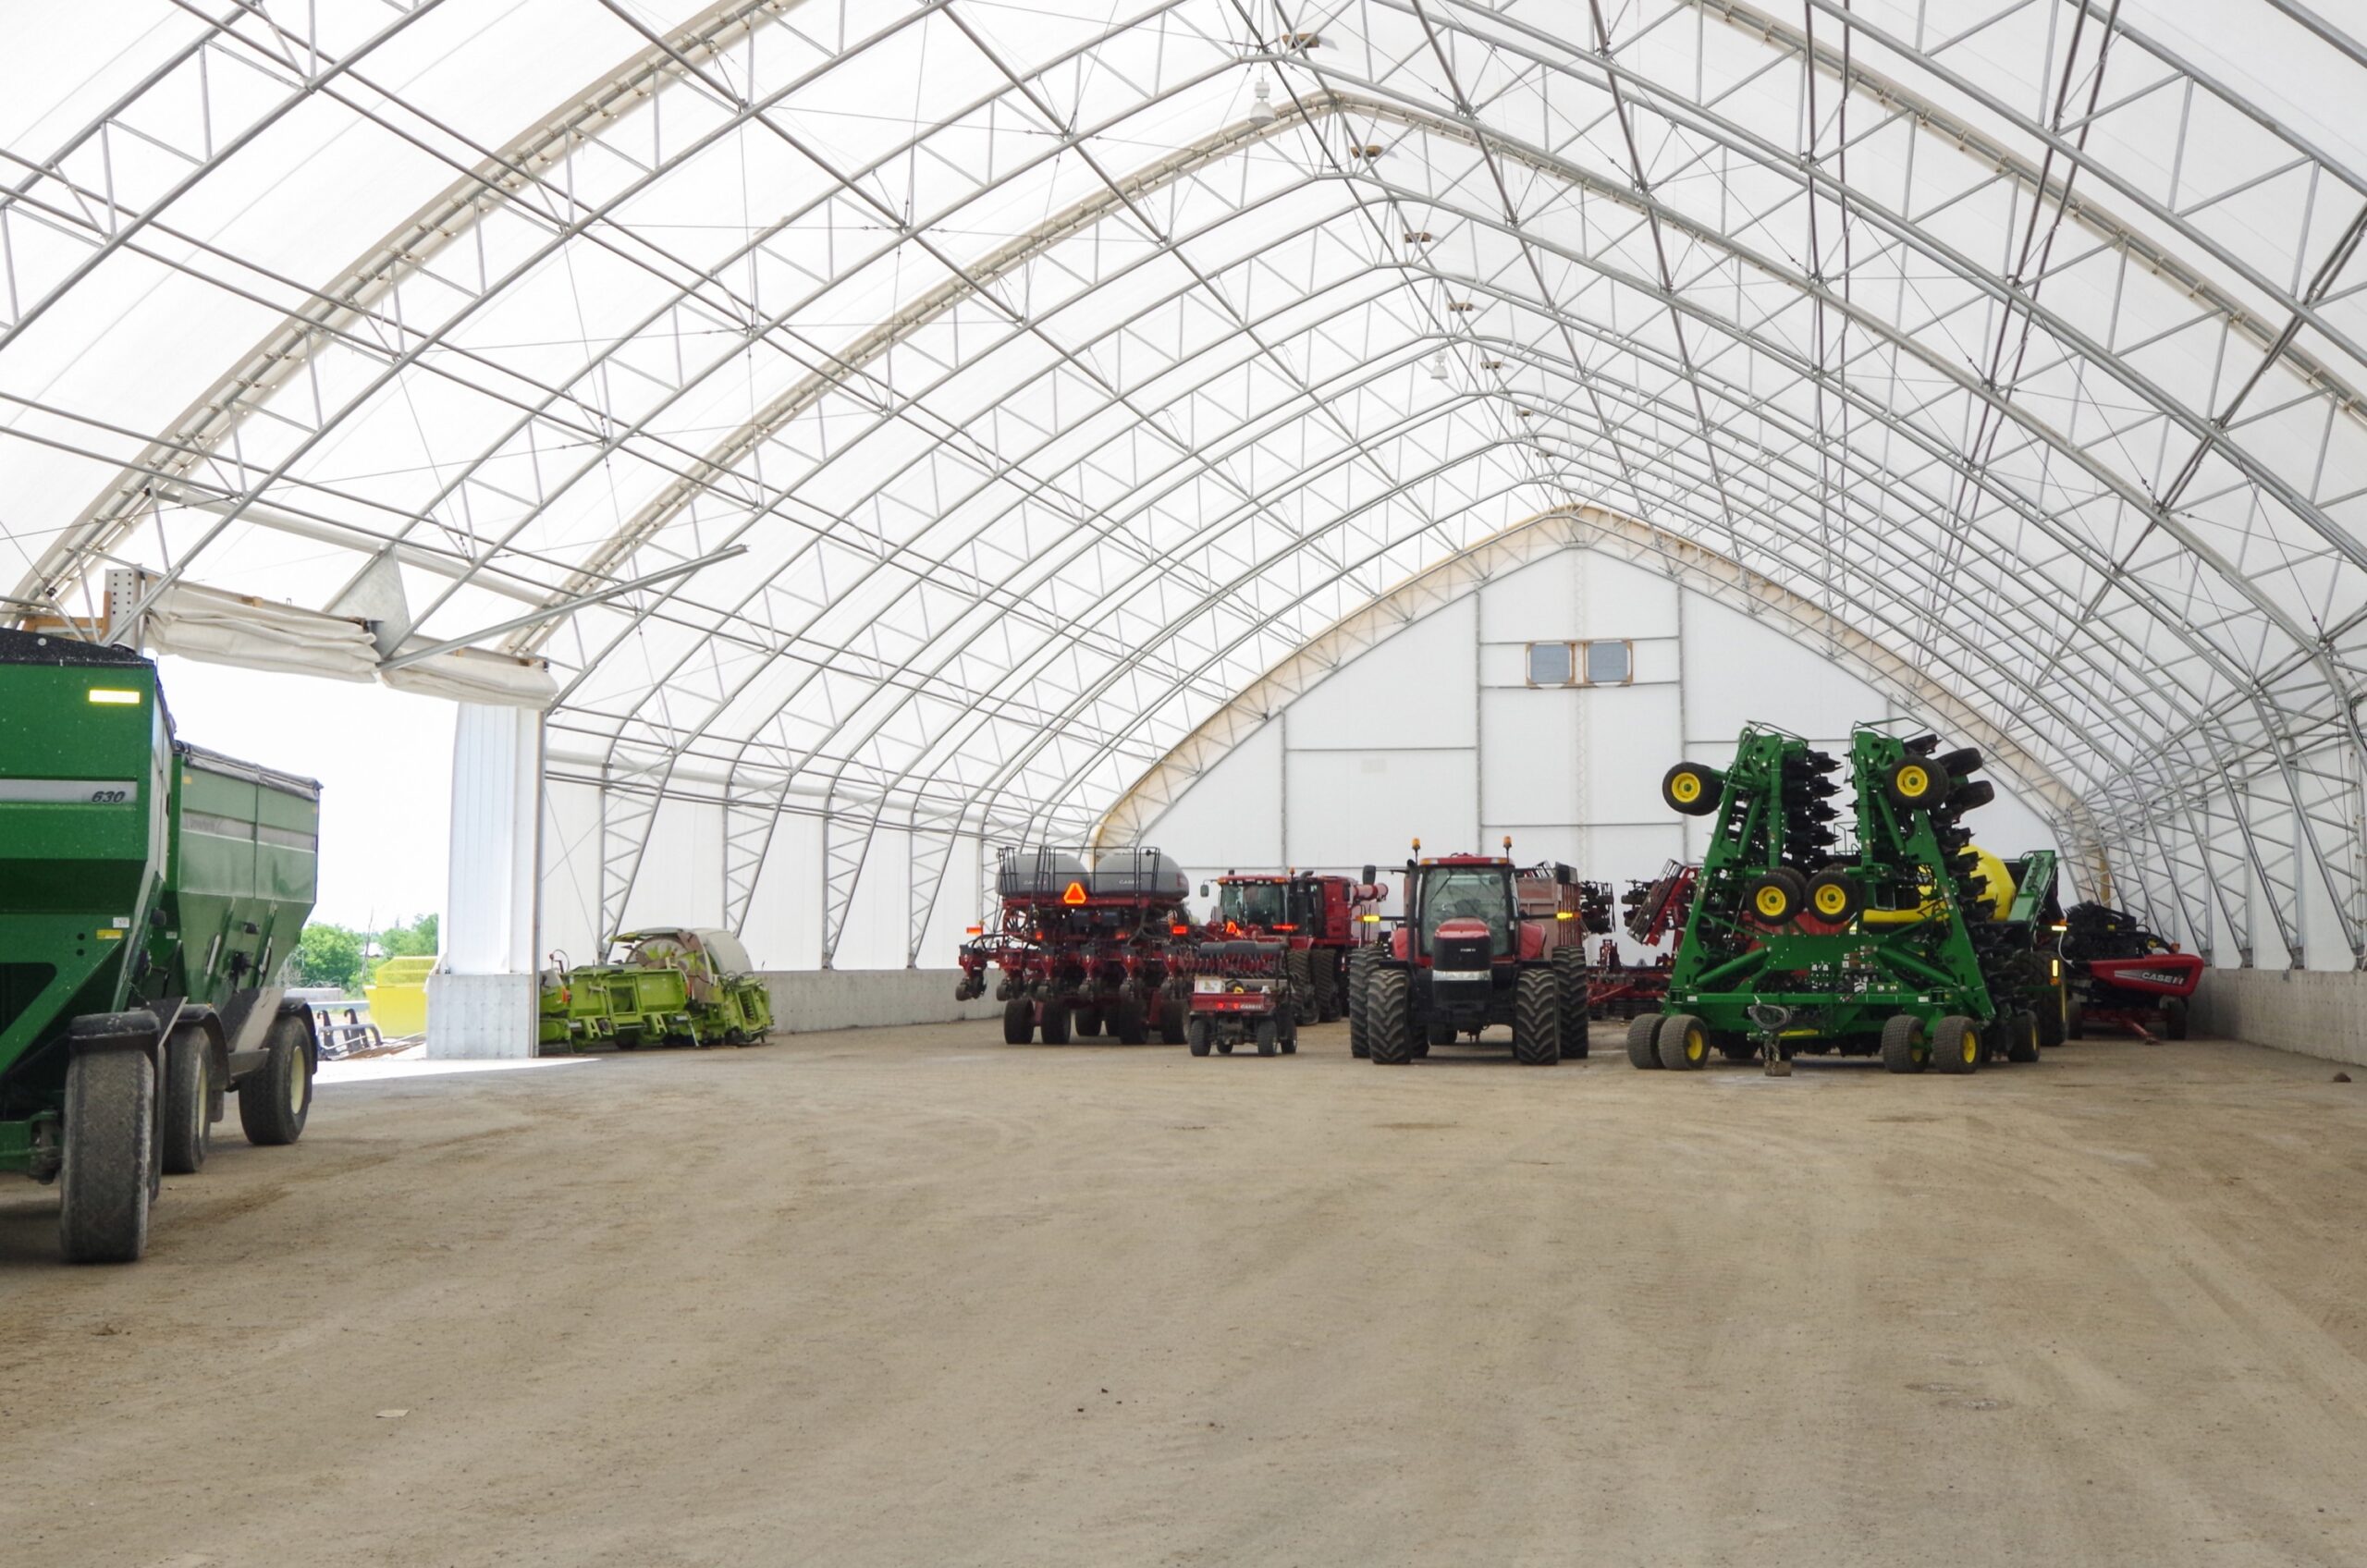
A tension fabric roof is pulled uniformly over a galvanized frame so the membrane stays smooth and tight. Proper tensioning sheds rain and snow, limits flutter in wind, and keeps seams stable. The payoff is a brighter interior with soft, even daylight and fewer harsh shadows. Crews work more comfortably, and animals stay calmer. The end result feels like a modern fabric barn that supports clean airflow and reliable daily routines.
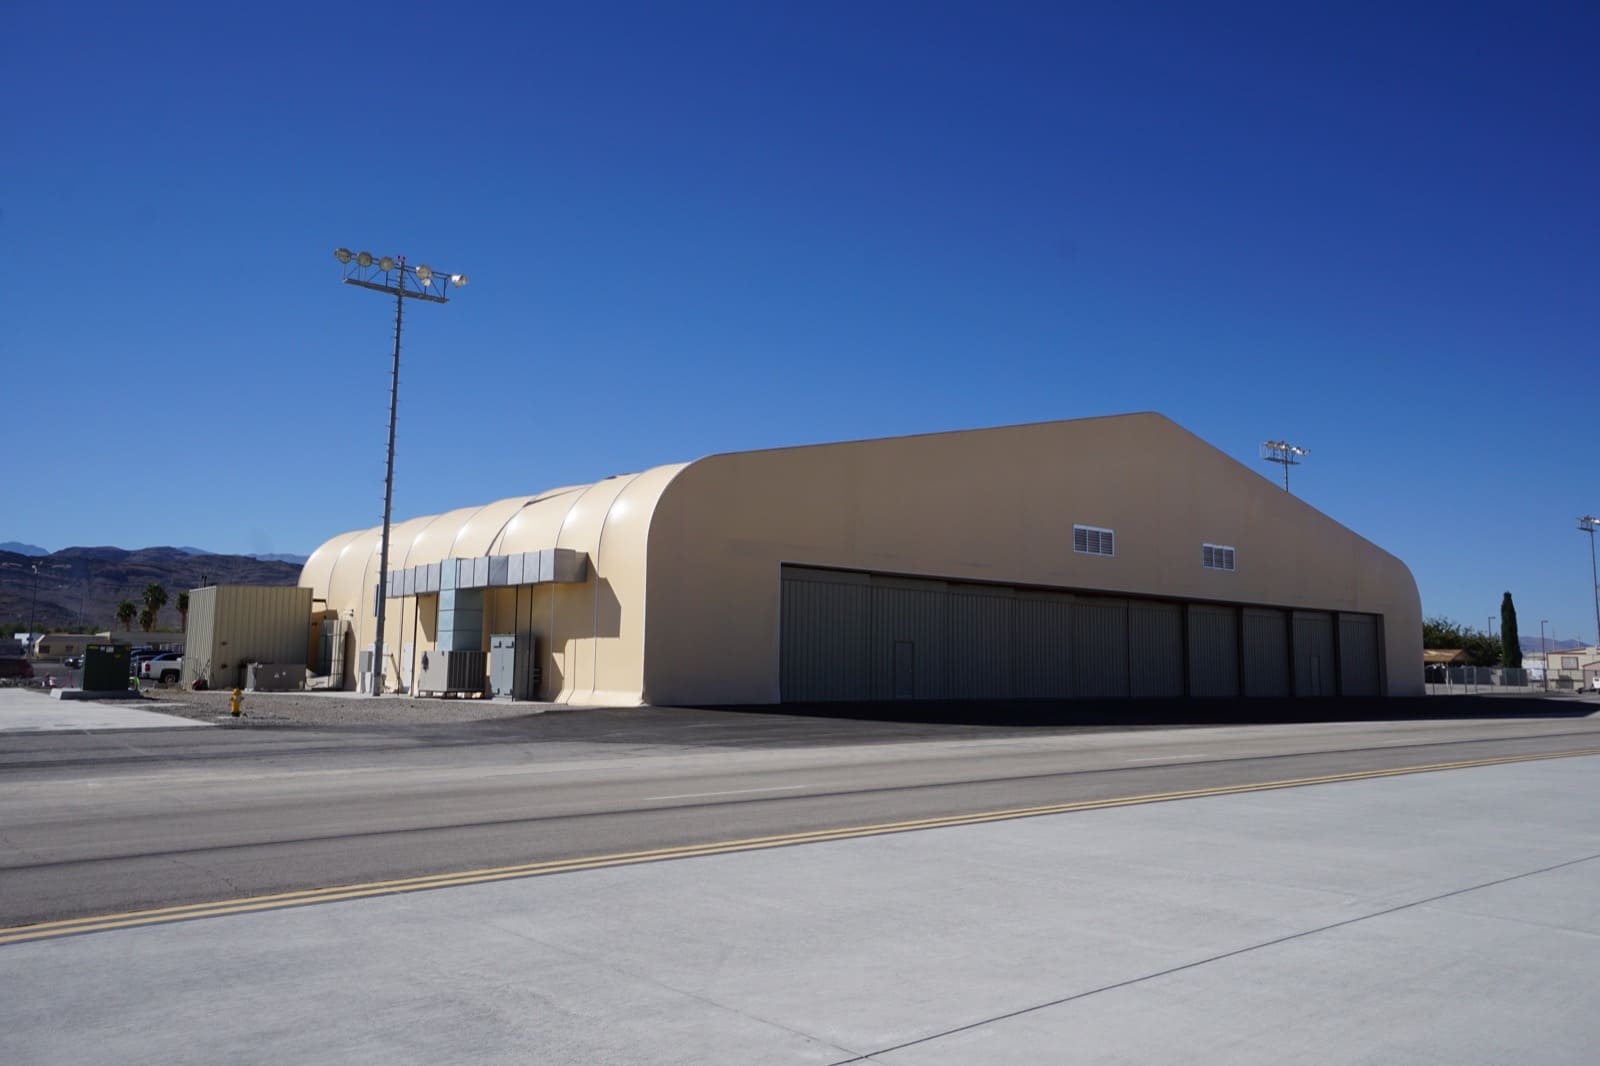
Clear, open interiors are a big part of the appeal. A well designed column free barn eliminates interior posts so you can set alleys the way you want, pull long scraping passes, and bring in larger equipment without tight turns. Profile selection matters here. The Atlas Series uses an arched geometry that sheds precipitation and maximizes headroom down the centerline. The Apex Series uses a peaked profile with straighter sidewalls that make it easy to mount curtains, headlocks, and service runs. Either approach can be engineered as a fabric hoop barn roof or gable style to suit your site loads and workflow.
Fabric Roof Barn Building Lifecycle: Inspect, Repair, Re-Cover
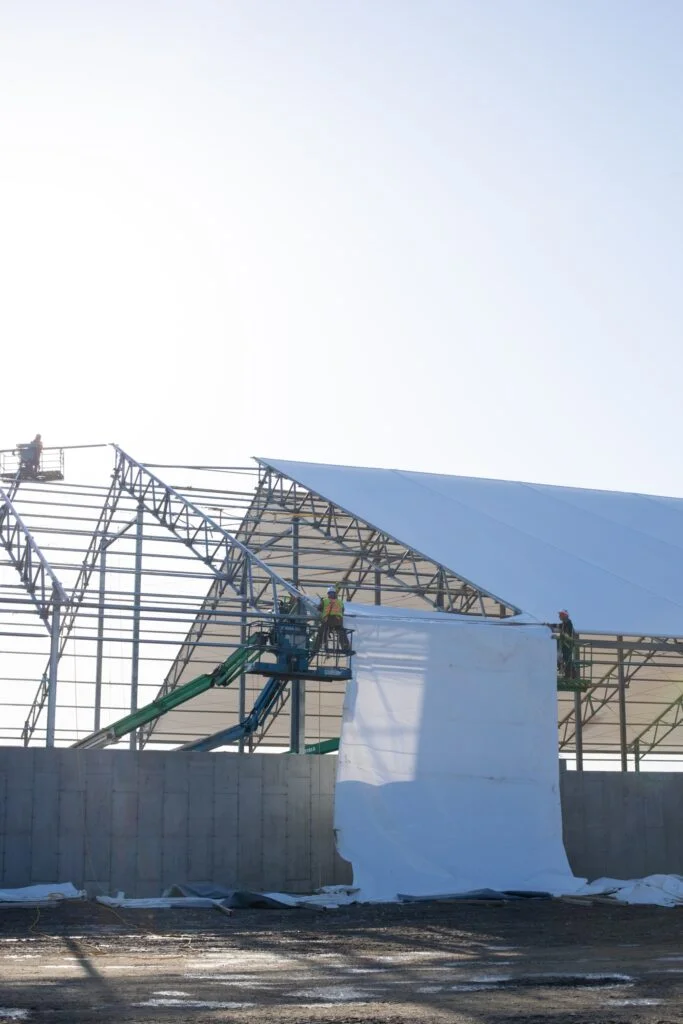
Covers age from ultraviolet exposure, wind cycles, and abrasion at contact points. Regular walkarounds help you decide whether to repair or replace barn cover panels. Add these checks to your calendar and log what you see.
- Look for loss of tension that returns quickly after re-tensioning
- Check seams and laces for creep or gapping
- Inspect edges and eaves for scuffing on hard points
- Backlight the membrane to spot chalking, brittleness, or pinholes
- Confirm curtain tracks run true and seals seat properly
If wear shows up in several zones, a planned re-cover often takes less time and yields better performance than chasing isolated patches. A quick consult through re-cover services will help you map timelines, panel counts, and any hardware upgrades you want to bundle with the work.
Site Prep Before the New Fabric Arrives
Smooth re-covers start with tidy prep, so treat the job like any fabric roof barn build. Clear the perimeter so lifts have room on both sides and ends, then verify the frame by checking bracing, purlins, and attachment rails for straightness and corrosion, replacing any questionable parts now. Confirm the structure is plumb and square so the new cover pulls evenly and holds its shape. Stage safely with clean laydown areas for panels and keep sharp edges away from the membrane, and watch the weather so you pull in calm, dry windows that reduce risk and keep the fabric clean.
The Re-Cover Sequence, Step by Step
Professional crews follow a disciplined fabric structure installation process during re-covers. Your model may change small details, but the flow stays consistent.
- Accessory removal. Take off ridge caps, trim, guards, and any parts that overlap the fabric edge
- Controlled de-tension. Release ratchets or keder locks methodically to avoid snap-back and protect crews
- Panel removal. Lower old panels in order, avoiding point loads on frame bays. Recycle or dispose per local rules
- Dry fit and orientation. Confirm panel batch dimensions and orientation marks before the first pull
- Panel pulls. Use tag lines and steady lifts to keep edges clean. Pull in the manufacturer’s recommended order
- Uniform tensioning. Tighten side to side, then lengthwise, in measured increments. Even tension prevents flutter and extends service life
- Ridge and eave finishing. Install ridge vents, overshot peaks, or chimney elements, then complete eave seals for a watertight finish
- Curtain and door reset. Reinstall tracks and drives, then test operation and seals
- Quality walk and handoff. Verify hardware torque, record tension readings, and brief your team on care
This is where professional fabric building installation pays off. The difference shows up in straight tracks, smooth seams, and a cover that stays quiet in wind.
Performance Upgrades to Consider During a Re-Cover
A planned re-cover is the perfect time to add features that improve airflow, light, and durability on any agricultural fabric roof. Pair a continuous ridge opening or chimney vents with sidewall curtains for steady natural air exchange; add contact protection with guards or protective tape where hoses, cables, or accessories might rub; improve drainage with tighter eave details and confirm swales or downspouts move water away; and reroute conduit and lines to avoid new contact points and simplify future maintenance. If you are comparing roof geometries, explore fabric barn styles to see how Atlas and Apex profiles support ventilation and daylight without heavy mechanical systems.
Maintenance That Keeps Tension Where it Belongs
Good habits protect a fabric barn cover and keep the roof performing like new. Use the checklists in dairy barn maintenance and review common pitfalls in the articles linked below.
- Monthly walkarounds. Check ratchets, laces, and visible hardware. Remove debris from ridges and eaves
- After storms. Recheck tension at high load edges and look for fresh scuffs
- Curtain care. Keep tracks clean and straight. Adjust seals so curtains do not chatter in wind
- Seasonal logging. Record tension at fixed landmarks. Small, even adjustments now prevent larger issues later
For additional guidance, see these posts:
Replacing the Fabric Roof of Your Fabric Building: https://britespanbuildings.com/blog/fabric-structure-buildings-cover-replacements/
Avoid These 5 Fabric Building Maintenance Mistakes: https://britespanbuildings.com/blog/fabric-building-maintenance-mistakes-to-avoid-costly-consequences-and-solutions/
Modern Barns: An Ideal Solution for Beef Barns: https://britespanbuildings.com/blog/modern-barns-an-ideal-solution-for-beef-barns/
Choosing Profiles and Planning the Next Decade
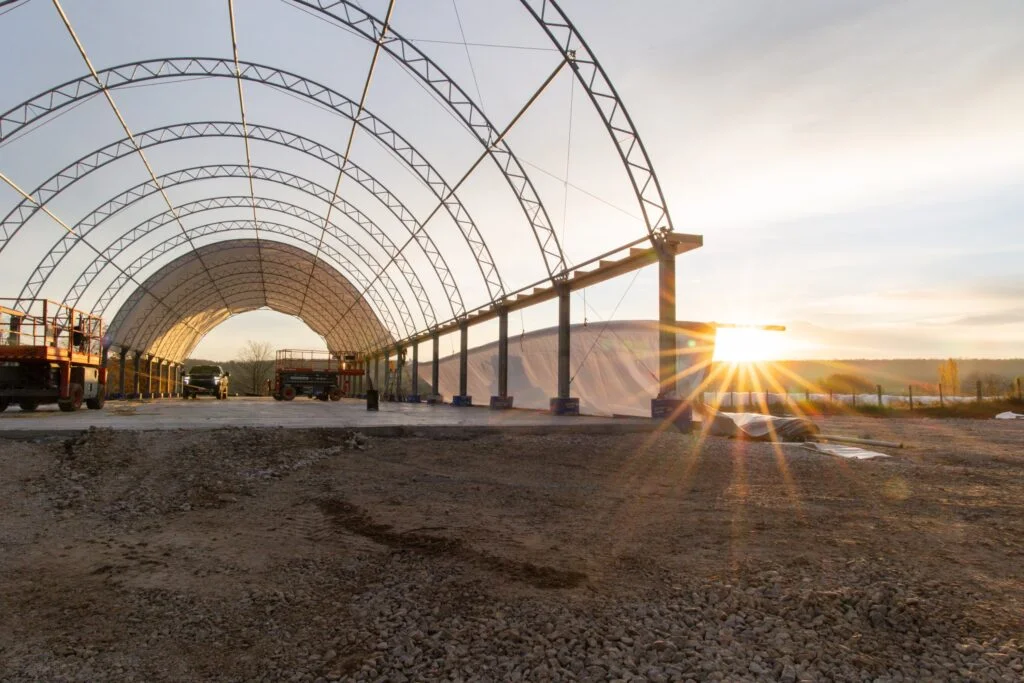
Steve Brubacher 46×196 PL Atlas Building Series Beef Barn_Peak Builders
Profile selection is not only an aesthetic choice. In fabric roof barn building, roof geometry shapes airflow, daylight, and interior clearance. The Atlas Series arch maximizes overhead space down the centerline and sheds precipitation smoothly. The Apex Series peak provides straighter sidewalls that simplify mounting of bunks, gates, and curtain systems. Both options work as a modern fabric barn solution for beef, dairy, and multi-use sites, and both can be engineered as a fabric hoop barn roof or gable configuration. Pick the one that best fits your chores and the way you like to move animals and equipment.
Final Checklist for a Successful Re-Cover
Use this quick list to align crews, schedules, and expectations before you replace barn cover panels.
- Confirm drawings, panel counts, and orientation marks
- Verify frame plumb, square, and bracing integrity
- Stage clean laydown zones and set weather thresholds for pulls
- Plan lift routes and perimeter access for the entire building length
- Calibrate torque wrenches and tension meters
- Schedule a handoff that trains your team on routine checks
With solid prep, consistent tensioning, and a realistic maintenance plan, your fabric roof barn will stay tight, bright, and quiet year after year. That is the promise of thoughtful fabric roof barn building. When it is time to plan the work, start with contacting our team. Compare profiles in fabric barn styles, and review the Atlas Series and Apex Series to match your roof to your day to day reality.
