Fabric Building Installation Guide: Site Prep and Foundation Options
A successful fabric building installation starts long before the first bolt is tightened. Good outcomes come from careful site preparation, the right foundation choice for your soil and loads, and a disciplined build sequence that protects the frame and membrane. This guide walks you through what professional crews look for, how to compare fabric building foundation options, and a practical fabric structure installation process you can use as a checklist with your team or contractor.
Start With the Right Partner
Look for tension fabric building installers who can show stamped drawings, load calculations, and a repeatable quality program. A capable team understands how a pre engineered fabric building behaves in wind, snow, and temperature swings. They should walk your site, ask about traffic patterns and future expansions, and explain how the foundation and anchoring strategy fit your soil and frost line. If all you hear is square footage, keep interviewing.
Helpful reads:
- Professional Installation: Building Your Fabric Dairy Barn
- Fabric Structure Buildings and 15 Marketplaces That Use Them
Site prep that sets you up for decades
A planned re-cover is the perfect time to add features that improve airflow, light, and durability on any agricultural fabric roof.
Ventilation
Pair a continuous ridge opening or chimney vents with sidewall curtains to create steady, natural air exchange that keeps bedding drier and animals comfortable.
Contact protection
Add guards or protective tape anywhere hoses, cables, or accessories could rub the membrane so the cover stays intact through daily chores and equipment use.
Drainage
Tighten eave details and confirm that swales or downspouts move water away from the building to protect foundations, lanes, and bedding areas.
Service routes
Reroute conduit and lines to avoid new contact points, simplify future maintenance, and keep access clear for crews and equipment.
If you are comparing roof geometries, explore fabric barn styles to see how the Atlas and Apex profiles support ventilation and daylight without heavy mechanical systems.
Choosing Your Foundation and Anchoring System
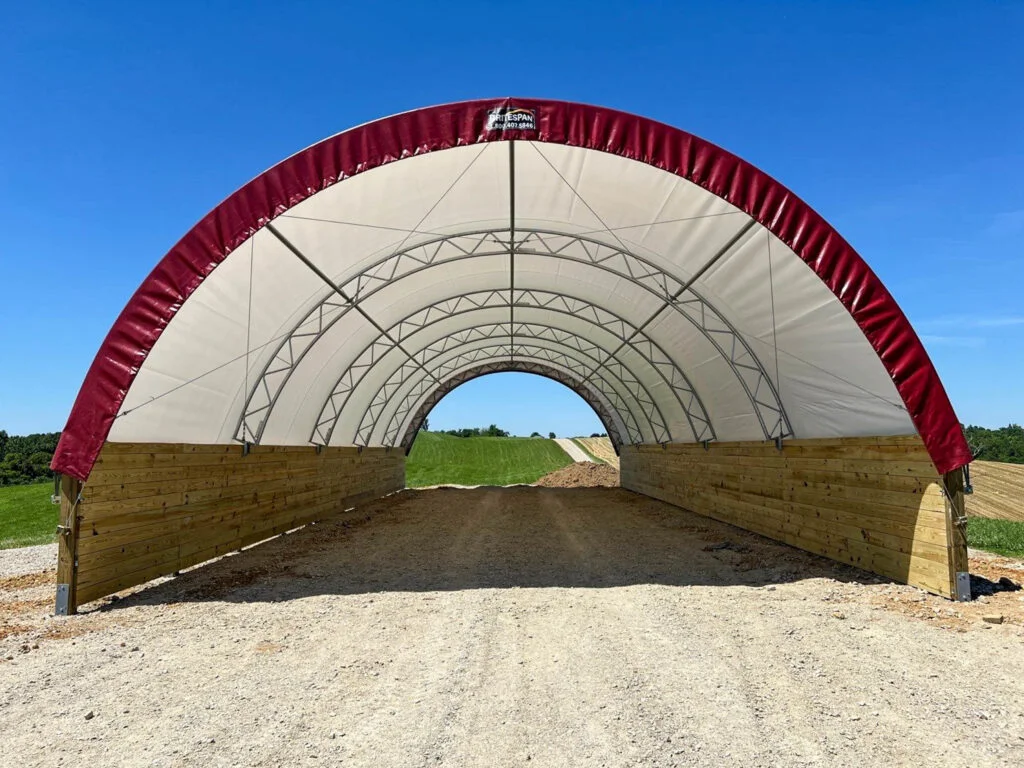
The best fabric building foundation options match soil conditions, building width, and how you intend to use the interior. Here are the most common choices and when they shine.
- Concrete pier footings
Individual piers under each frame leg. Ideal where frost is deep and you want a clean interior slab later. Piers are efficient on materials and can be placed around existing utilities with careful layout. - Helical piles or screw piles
Steel anchors twisted into the soil to reach torque values that correlate with capacity. Great for poor soils, short timelines, or cold weather installs when concrete work is difficult. They also reduce excavation and spoils. - Grade beam with piers
A continuous beam ties piers together. This spreads loads, keeps anchor elevations consistent, and provides a straight line for mounting base plates. Useful for wide buildings or uneven soils. - Slab on grade
A reinforced slab with thickened edges or embedded anchors. Works well for shops, wash bays, and material handling areas that require flat, durable floors. Confirm joint layout so anchors do not land on saw cuts. - Precast blocks or ballast walls
Modular blocks or poured walls used as both ballast and knee walls. Popular when you want interior push walls for bulk storage. Also valuable when permanent footings are not feasible. - Existing pony walls or stem walls
Many pre engineered fabric building frames can sit on concrete walls to add height, protect membranes from splash, and create clean mounting surfaces for headlocks, bumpers, or conveyor penetrations.
Your installer should explain frost protection, rebar schedules, anchor embedment, and corrosion protection for each choice. They should also confirm tolerances. A typical target is plus or minus a few millimeters on anchor spacing and elevation so the steel fits without forced alignment.
The Fabric Building Installation Process, Step by Step
Use this sequence as a field ready checklist and adapt it to your building model and site.
Preconstruction Meeting
Review drawings, lifting plans, weather thresholds, fall protection, and emergency procedures. Confirm tools are on site, including torque wrenches and calibrated tension meters.
Foundation Verification
Measure anchor spacing, elevations, and alignment against the drawings. Check concrete cure strength or helical pile torque logs and correct issues before steel arrives.
Frame Assembly and Plumb
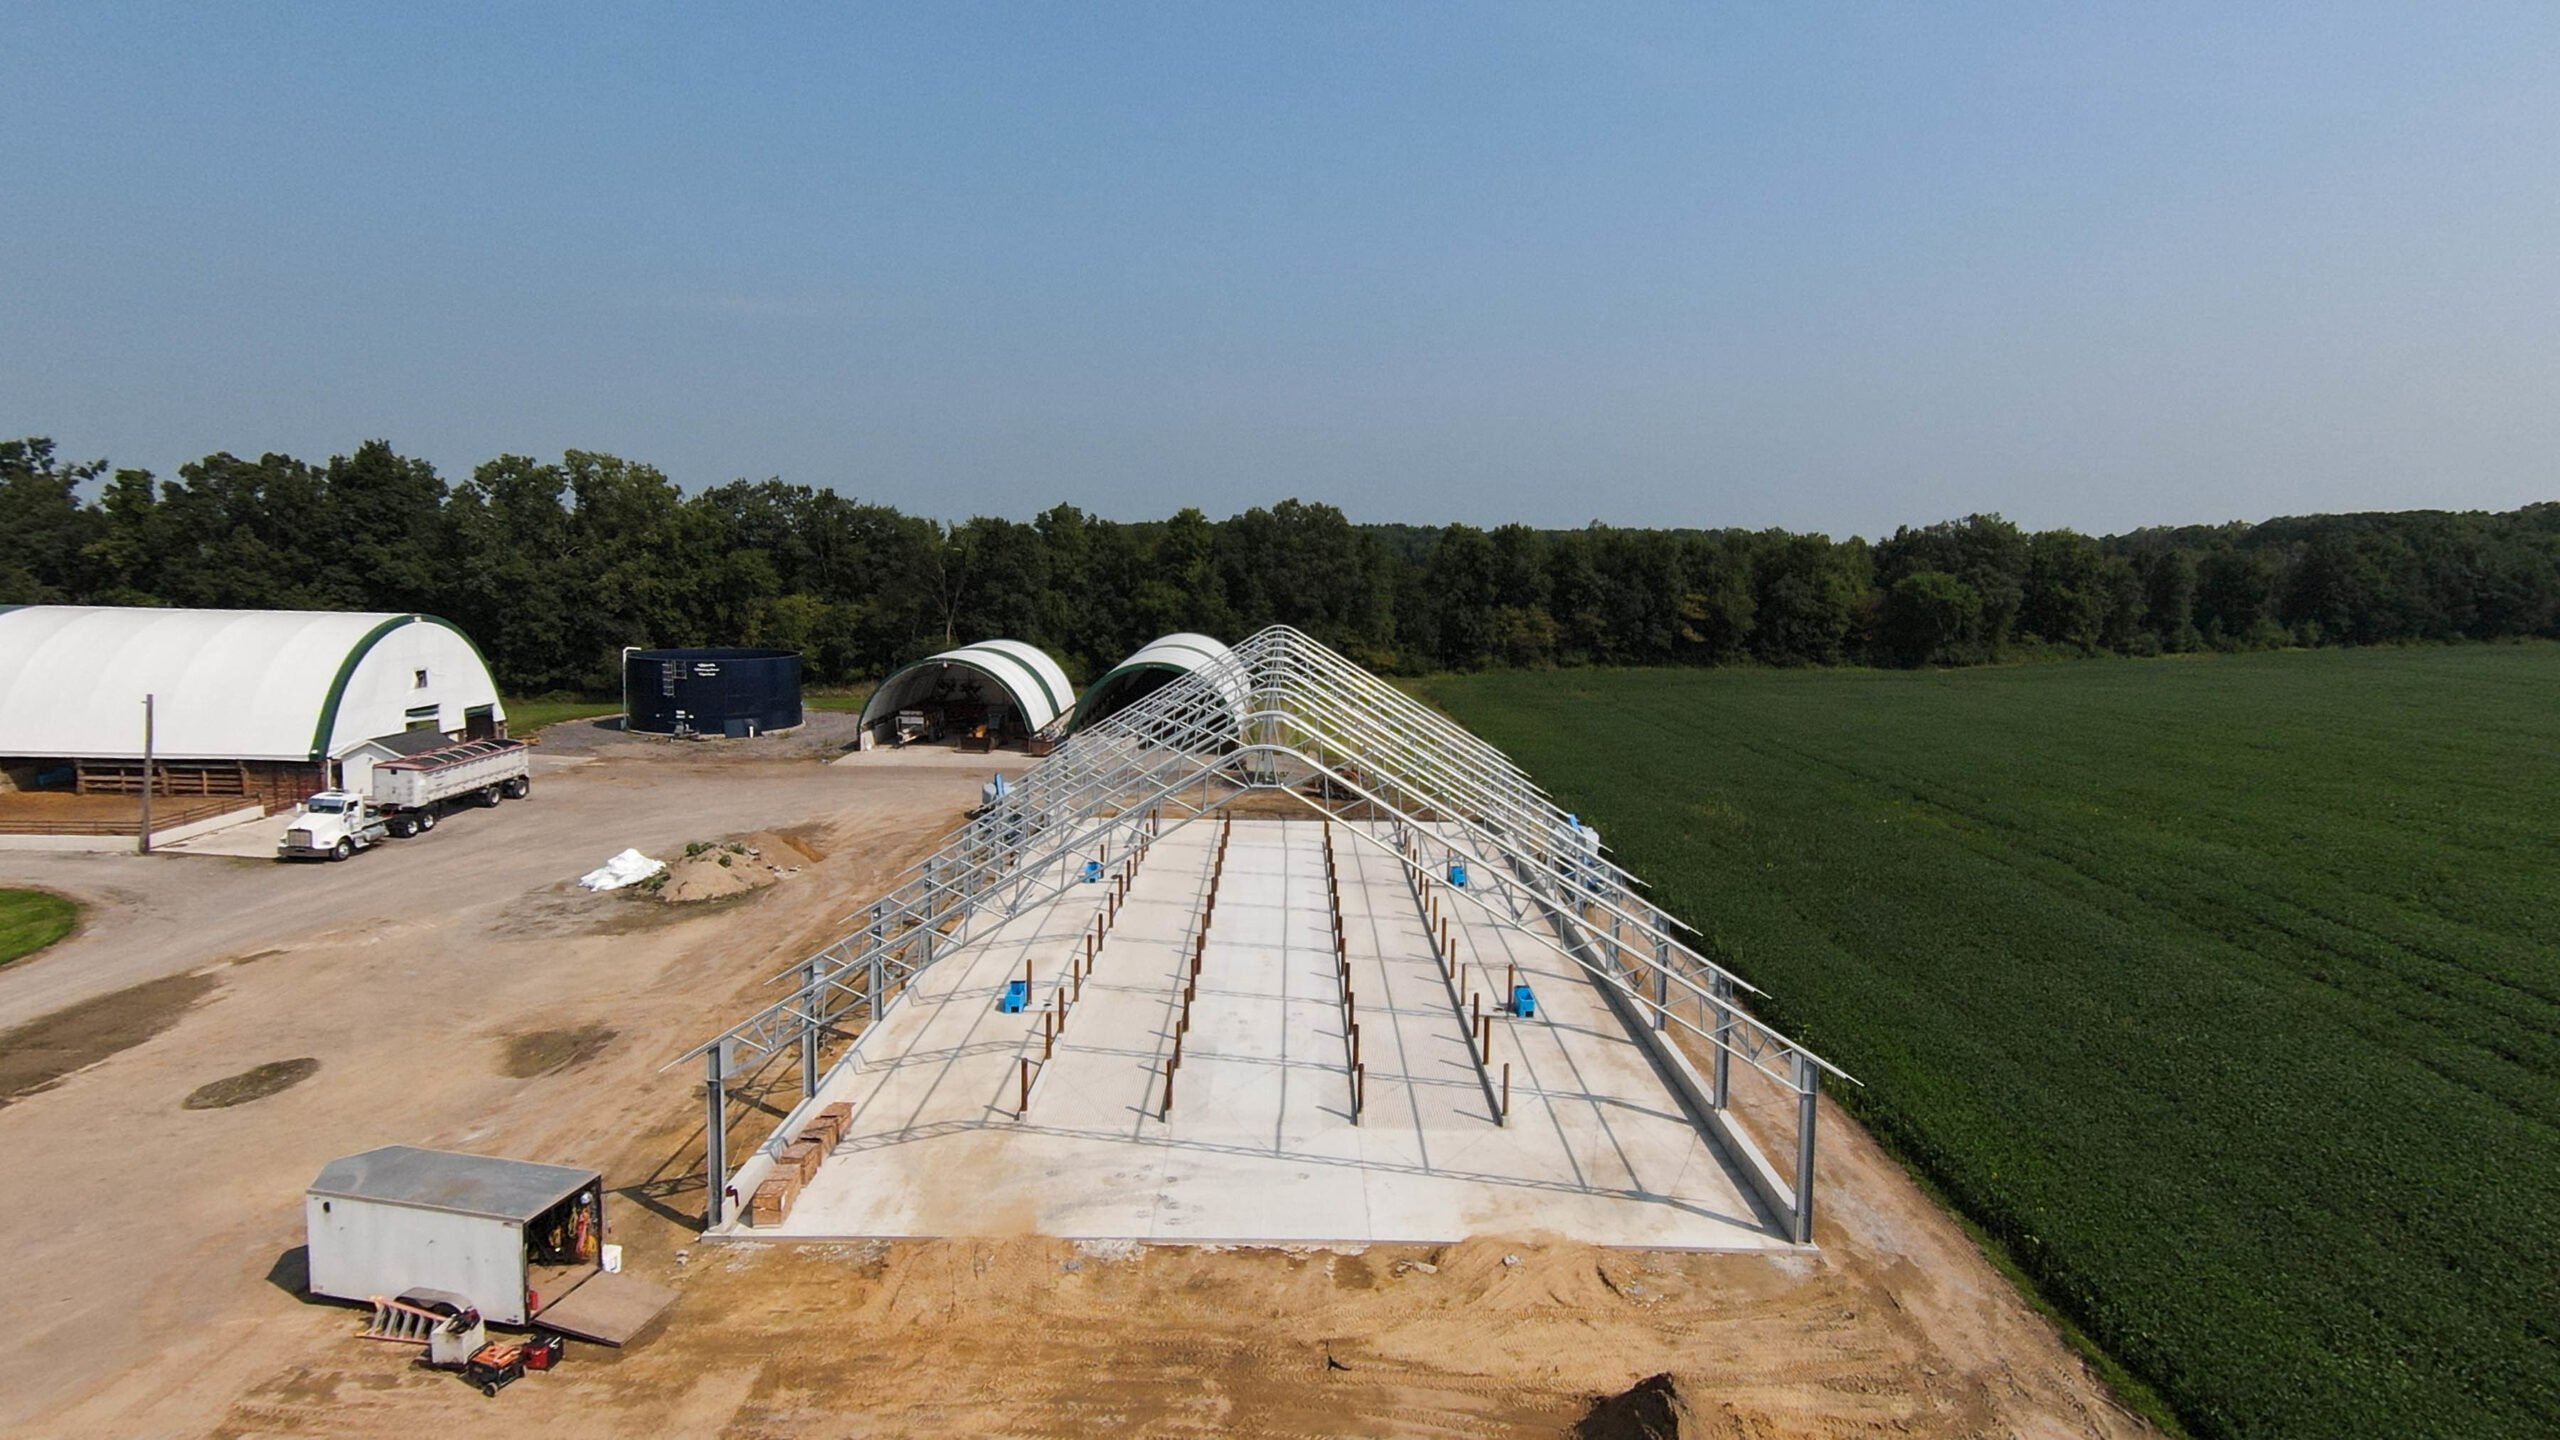
Assemble trusses on the ground or in sections, then lift, set on anchors, and snug hardware. Plumb and square the frame bay by bay and torque fasteners per spec in a documented pattern.
Purlins, Bracing, and Connections
Install purlins, struts, and bracing to lock the geometry. Verify clearances for doors, cranes, or conveyors and recheck all critical bolts for torque.
Membrane Staging and Inspection
Uncrate fabric panels on clean ground and inspect for abrasions, manufacturer marks, and pull orientation. Protect edges from gravel and sharp surfaces.
Membrane Pull and Tensioning
Pull in calm weather and use tag lines to control panels. Follow the manufacturer’s tension sequence, tightening in increments side to side, then lengthwise, and record final values at cords or ratchets.
Ridge, Eaves, and Flashing
Install ridge vents, overshot peaks, and eave details. Seal transitions and penetrations to achieve a clean, watertight finish.
Curtains, Doors, and Accessories
Mount sidewall curtains level and straight with quality tracks. Set door frames square, adjust rollers and seals for smooth operation, and install lighting, electrical, or plumbing once the envelope is closed.
Quality Control Walk
Verify hardware torque on a documented sample, check membrane tension and alignment lines, and confirm drainage paths and final grades.
Owner Orientation and Handoff
Walk the owner through curtain operation, tension checks, and safe snow removal procedures. Provide manuals, drawings, and maintenance schedules to complete a professional fabric building installation.
Special Considerations for the Atlas Profile
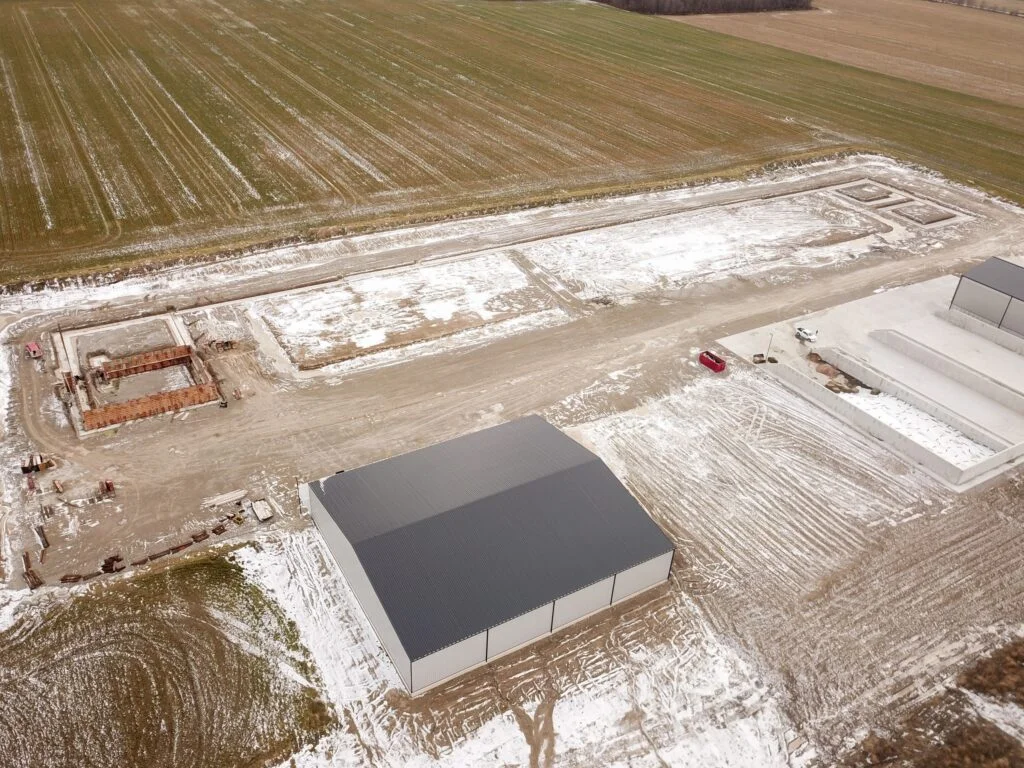
Rasenberg Farms Epic 140×950 Beef Barn Feedlot Facility
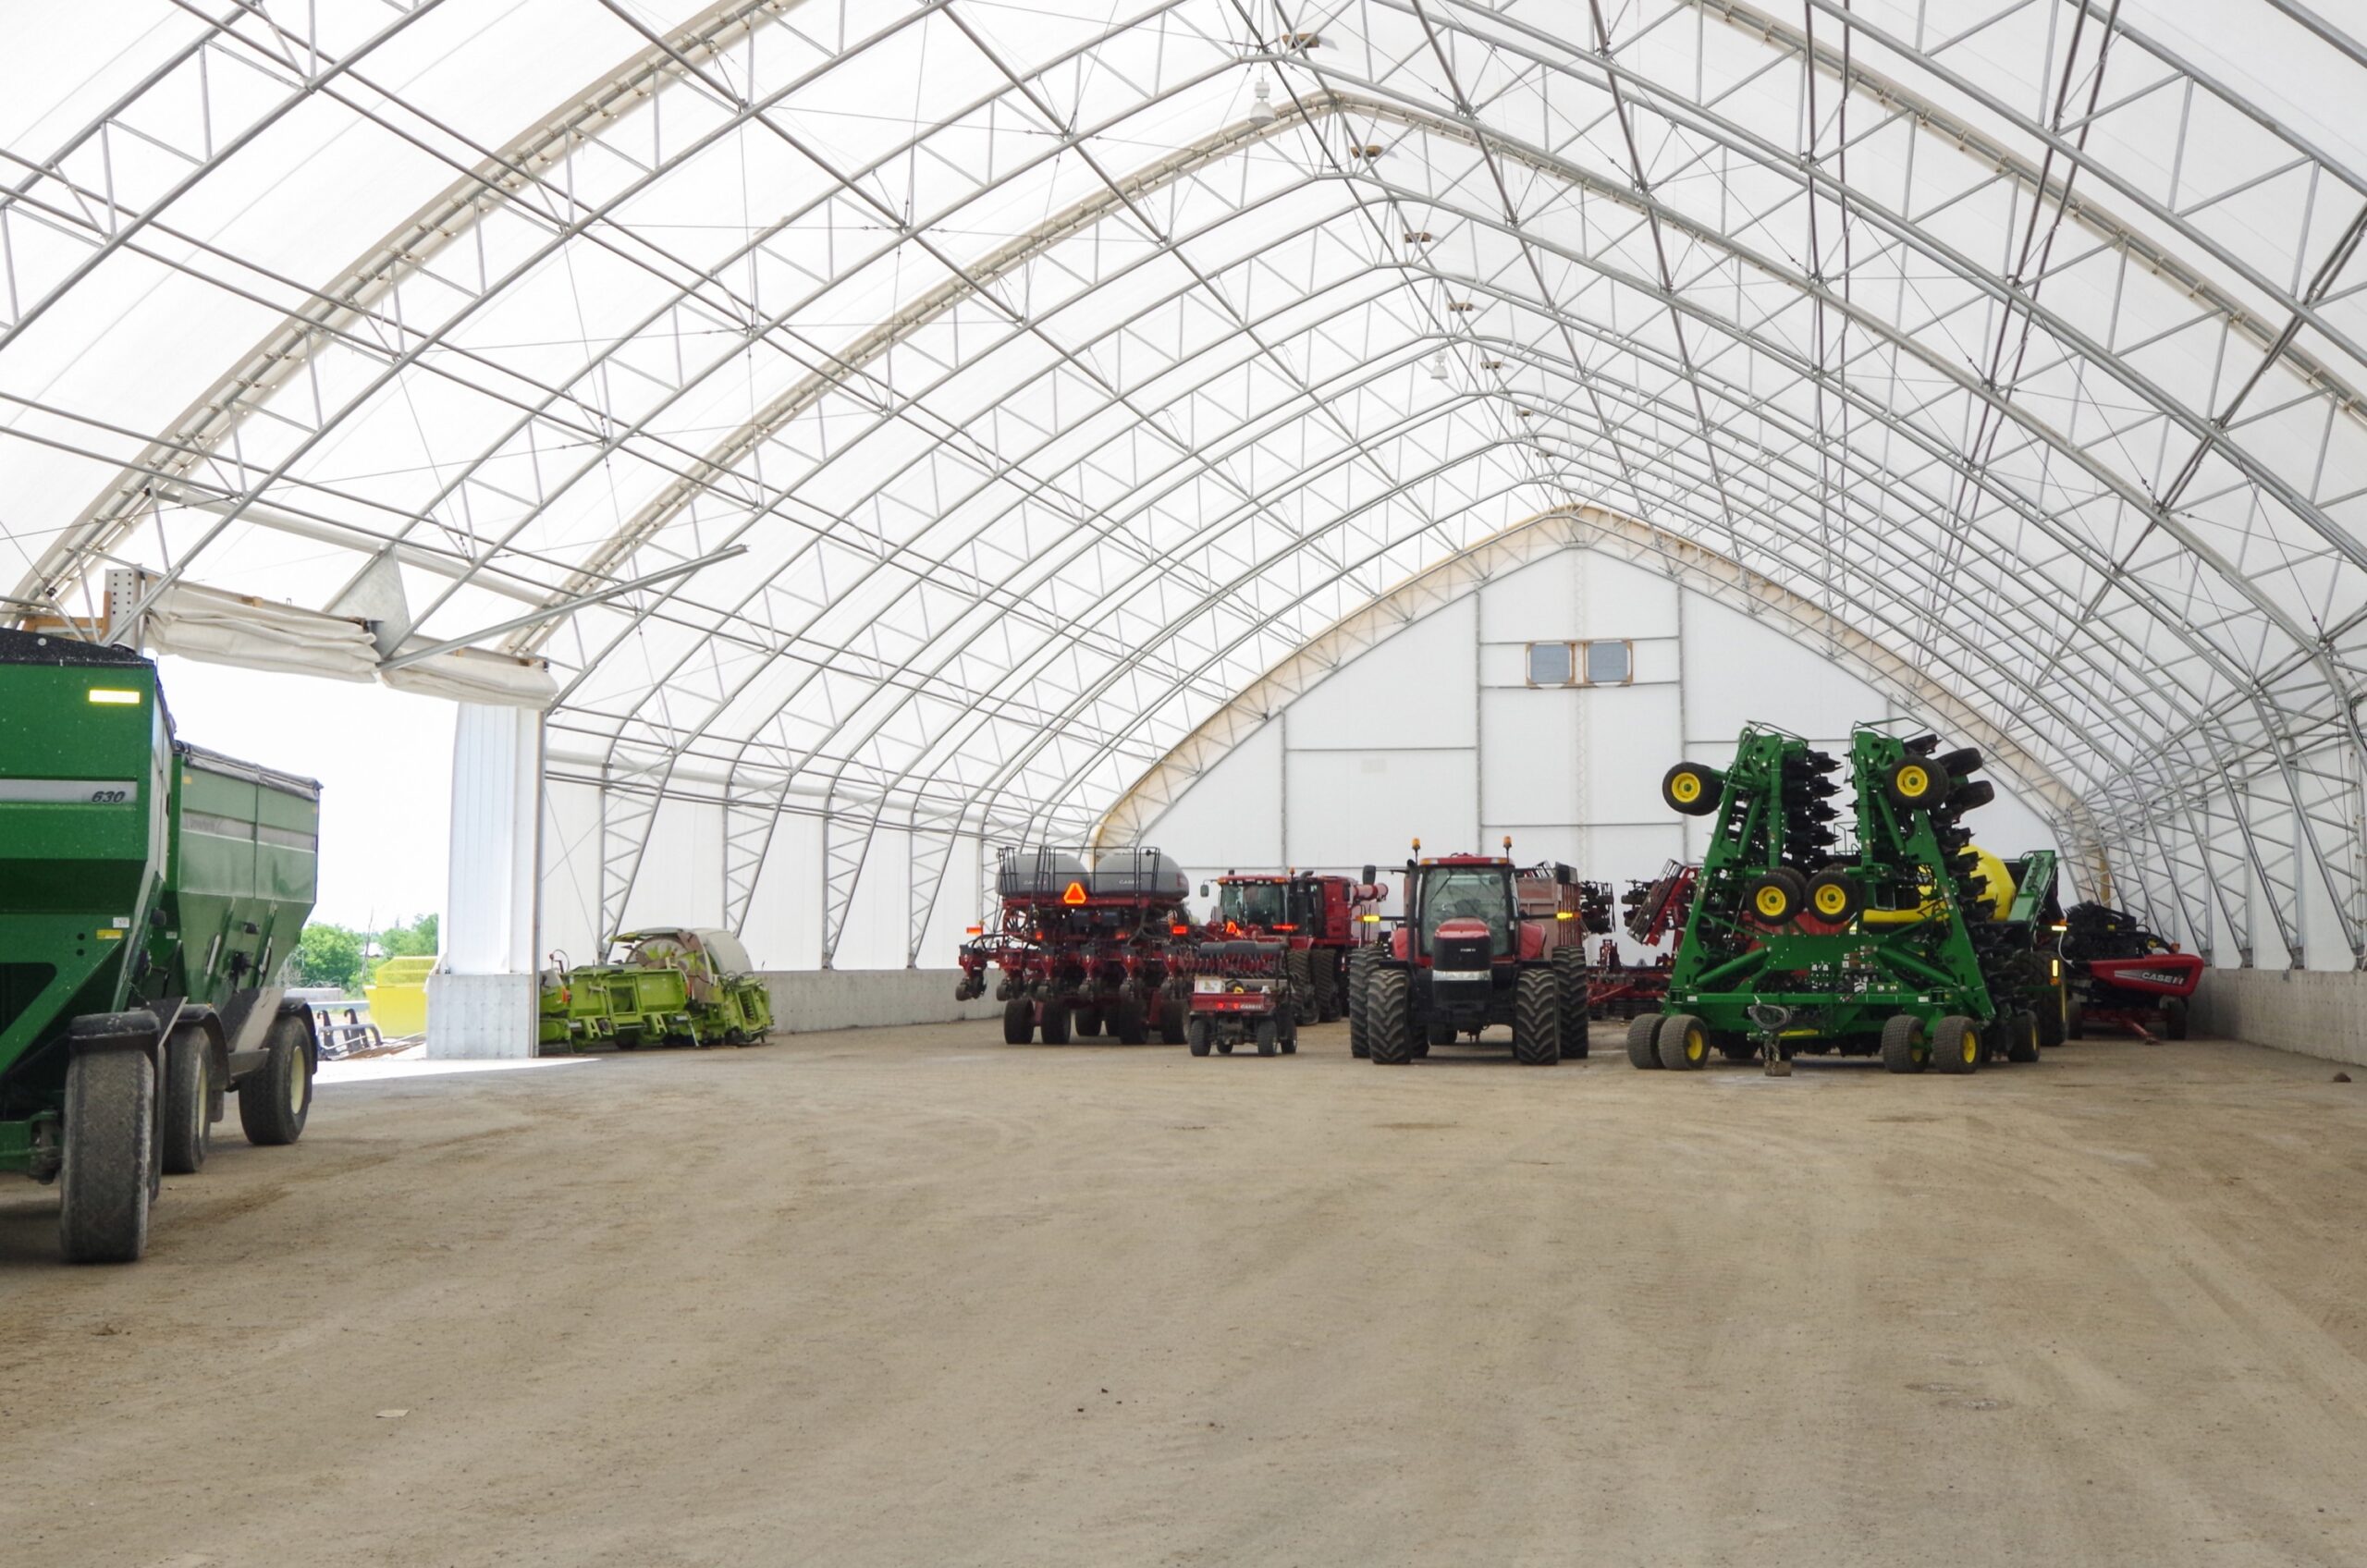
If you are evaluating the Atlas Series, note its clear-span interior and curved profile that helps shed rain and snow. The sequence above still applies, but pay extra attention to ridge elements, fabric panel alignment over the arch, and uniform tension along the side attachment system. That uniformity maintains the clean lines that support natural airflow and daylight.
Commissioning, Care, and Future Cover Work
Every fabric building installation should include a basic care plan. Document monthly visual checks, seasonal torque checks at critical nodes, and simple fabric inspections after major weather. Keep aisles swept to avoid abrasive grit at the base connection. When crews know what “normal” looks like, they catch small issues before they grow.
For long term care, save these resources:
- Avoid These 5 Fabric Building Maintenance Mistakes
- Replacing the Fabric Roof of Your Fabric Building
Those guides pair well with your internal schedules on maintenance and re-cover solutions. Re-covers are straightforward when the original installation followed correct tensioning and hardware practices.
Final pre-build checklist
Before excavation begins, confirm these items with your team or installer.
- Signed, stamped drawings that reflect your actual site.
- Soil and frost assumptions, bearing capacity, and drainage plan.
- Selected foundation type with details for anchors, rebar, and corrosion protection.
- Confirmed layout, grid lines, and benchmark elevations.
- Material delivery plan, membrane staging, and weather thresholds for pulls.
- Safety plan, lift plan, and communication protocol.
- Commissioning and training agenda for turnover.
When you combine careful fabric building site prep, a foundation matched to your soils, and a disciplined installation sequence, your fabric building installation will go smoothly and perform the way it should for years. That is what experienced tension fabric building installers deliver on every project. With a strong plan and professional partners, your fabric structure installation process will finish cleanly and be easy to maintain from day one. Contact us today to learn more.
